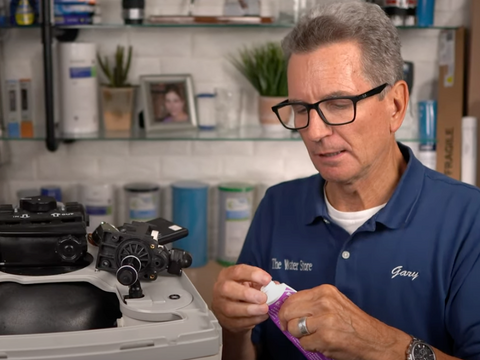
At Water eStore, we simplify water filtration and provide you with the knowledge and tools to conquer any water-related challenges. I'm Gary, your friendly certified water specialist also known as Gary the Water Guy, and in today's blog post, I'll guide you through the process of replacing the Piston or Drive End Cap Assembly in your Aquamaster or WaterBoss water softener. Not only will I explain when it's necessary to replace these components, but I'll also show you where to get them and how you can save money by doing the replacement yourself.
How Do You Know When To Replace Your Drive End Cap or Piston?
If you're experiencing issues like beeping and a "home not found" message, a brine tank filled with water, or being stuck in a backwash cycle, it's likely time to replace the drive end cap assembly.
Whether it's worn seals or a stuck piston due to debris or piston ring failure, I'll walk you through the steps to resolve these issues. I'll also share about the new replacement parts and how they can be used with your Aquamaster or Water Boss softener. Let's get started!
How to Replace Your Aquamaster or WaterBoss Drive End Cap or Piston
-
Remove the valve cover assembly and initiate a regeneration by holding down the regeneration button for 5 seconds, once you hear water running to drain, bypass and unplug the water softener.

- Unplug the Computer Control Assembly and remove it by sliding to the right.
- Remove the screws at each end of the DECA and disconnect the Brine Valve Assembly from the Safety Shut Off. Removing the Hex nut from the Safety Shut off inside the brine well will make it easier to remove from the Brine Valve Assembly. Be careful not to lose the O ring and Brine Piston.
-
Slide out the DECA being careful to keep track of the two O rings at the piston end.
-
If you're just replacing the piston, note that it's slotted into the piston slide. To remove it, rotate Piston 90° counterclockwise. To replace, rotate the piston 90° clockwise until you hear an audible “click.” Then reassemble.

-
If you're replacing the whole DECA you will need to remove the Drive Motor, from the old DECA and install on the new one.
-
Before reassembly, grease the O-rings with plumber's clear silicone grease, the smaller O-Ring should be placed on the male boss on the End Cap. When assembling the End Cap to the Valve Body, care should be taken to make sure the small O-Ring is aligned with the opening in the Valve Body and that the large O-Ring stays in the groove in the End Cap. The silicone grease will help to keep them in place. If misaligned, the O-Rings can become pinched and leak.
- Slide the DECA into the valve body wiggling it slightly while sliding it in. Tighten screws.
- Reattach the Brine Valve Housing Assembly and connect to Safety Float with the tubing, sliding it into the quick-connect
fittings. If you ever need to disconnect these fittings from the tubing, compress the tubing into the fitting and then while holding the collar, pull out the tubing.

-
Secure the safety float, reattach and reconnect the Computer Control Assembly, making sure that it is clipped in and plug into wall.
- Once the valve has found home you can slowly open the bypass valve and cheque for leaks.
- Regenerate water softener, again checking for leaks throughout the regeneration process.
And there you have it! As you can see, replacing the Piston or Drive End Cap Assembly in your water softener can be done easily with the right guidance. By following these 12 steps, you'll have your water softener up and running smoothly once again in no time! Save money, tackle issues yourself, and keep your water softener running smoothly with the help of Gary the Water Guy.
>> Shop Replacement Drive End Cap Assembly
>> Shop Replacement Piston
>> Shop Aquamaster and WaterBoss Water Softener Parts


