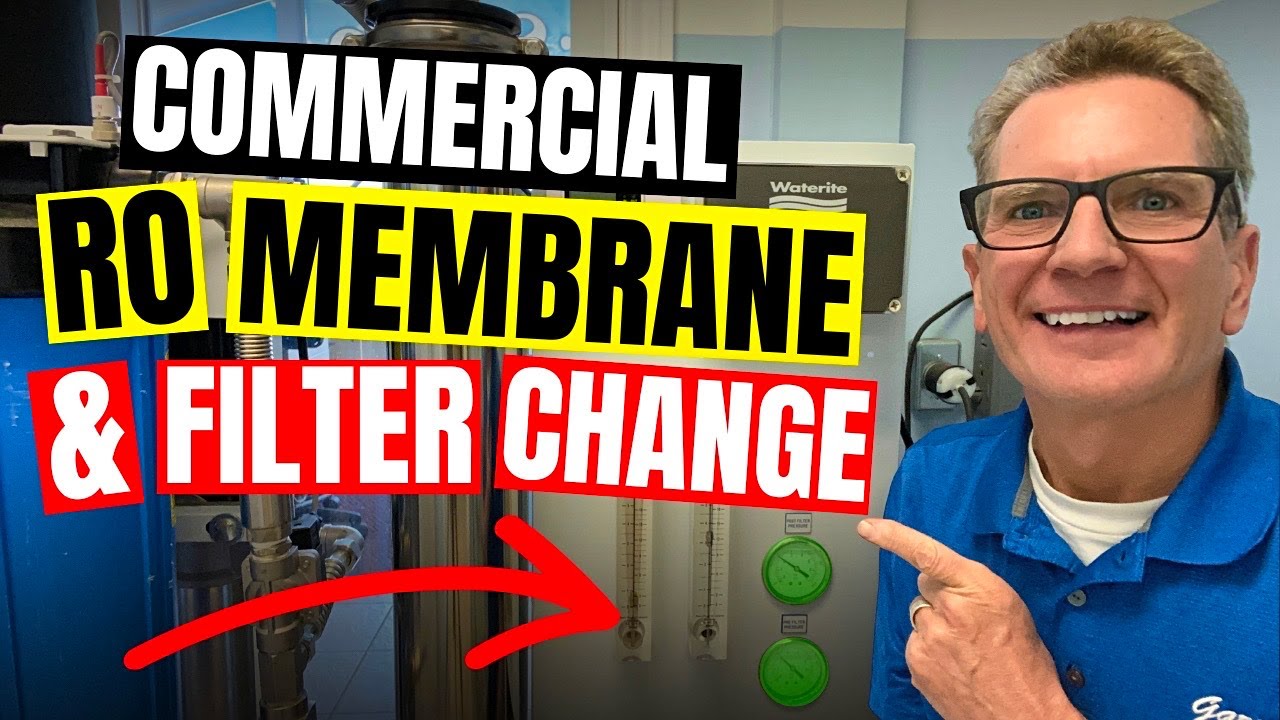
Maintaining the performance of your whole house or commercial Reverse Osmosis (RO) system is crucial to ensure clean and pure water for your family or business. Regularly replacing the membranes and pre-filters is essential for optimal system functionality. In this article, we will provide pro tips on how and when to replace these components, helping you streamline the process. Let's dive in!
Monitoring TDs and Flow Rate:
To keep track of your RO system's condition, it's advisable to maintain records of its performance. Monitoring the Total Dissolved Solids (TDS) and flow rate will provide valuable insights into the system's efficiency. Checking the TDS of the product water will help you determine if the membranes need replacement. A significant increase in TDS indicates that it's time for a change. Similarly, a noticeable drop in the flow rate is a clear sign that the pre-filters require replacement.
Shutting Down the Water:
Before starting the replacement process, it's crucial to shut off the water supply. Closing the inlet valve going into the automatic backwashing filter will prevent any water flow during the procedure. Additionally, it is recommended to turn off the power supply and unplug the RO system for added safety.
Replacing the Pre-Filter:
Begin by replacing the pre-filter, which acts as the first line of defense for your RO system. To do this, follow these steps:
1. Push the button on the filter housing to release any pressure.
2. Use a filter housing wrench to unscrew the filter housing and remove the old filter.
3. It is recommended to replace the pre-filter monthly, regardless of its level of dirtiness, to protect the membrane and maintain the system's efficiency.
4. Before installing the new filter, apply plumber's clear silicone grease to the o-ring for better sealing and longevity.
5. Insert the new filter into the housing, ensuring it is properly seated.
6. Tighten the housing by hand and then give it a final turn with the filter housing wrench to prevent any leaks.
Removing and Installing Membranes:
Now, it's time to replace the membranes, the heart of the RO system. Follow these steps to ensure a smooth membrane replacement process:
1. Loosen the bolts and nuts on the clamps holding the membrane caps in place. If necessary, use a screwdriver to gently pry the caps off, applying equal pressure from all sides.
2. Remove the old membranes, taking care not to damage the o-rings. Use pliers if necessary, rotating the membrane slightly while pulling it out.
3. Note the position of the o-ring on the old membrane and ensure the new membrane is installed the same way.
4. Apply plumber's clear silicone grease to the o-rings of the new membranes before inserting them into the designated slots.
5. Push the new membranes in, ensuring they are straight and evenly positioned.
6. Replace the clamps on all sides, making sure they secure the caps in place and distribute pressure evenly.
7. Tighten the clamps, maintaining equal gaps on both sides, to ensure a secure fit.
Checking for Leaks and Flushing:
Before turning the system back on, it's crucial to flush the new membranes to remove any preservatives present. Follow these final steps:
1. Connect a temporary line from the product side of the RO system to the drain to facilitate the flushing process.
2. Turn on the water supply and check for leaks. Monitor the pre-filter and post-filter pressure readings to ensure normal operation.
3. Gradually increase the operating pressure, keeping an eye on the pressure gauge. For a Vectomax system, the operating pressure should not exceed 130 PSI.
4. As the system operates, the TDS reading should decrease, indicating improved water quality.
5. Allow the system to run for at least an hour to thoroughly flush the membranes and remove any preservatives.
6. Reconnect the line to the tank once the flushing process is complete.
Regular maintenance and timely replacement of membranes and pre-filters are essential for maintaining the efficiency and longevity of your whole house or commercial Reverse Osmosis system. By following the step-by-step guide provided in this article, you can ensure a seamless replacement process, guaranteeing clean and pure water for your family or business. Remember to consult the manufacturer's instructions specific to your RO system for additional guidance.

