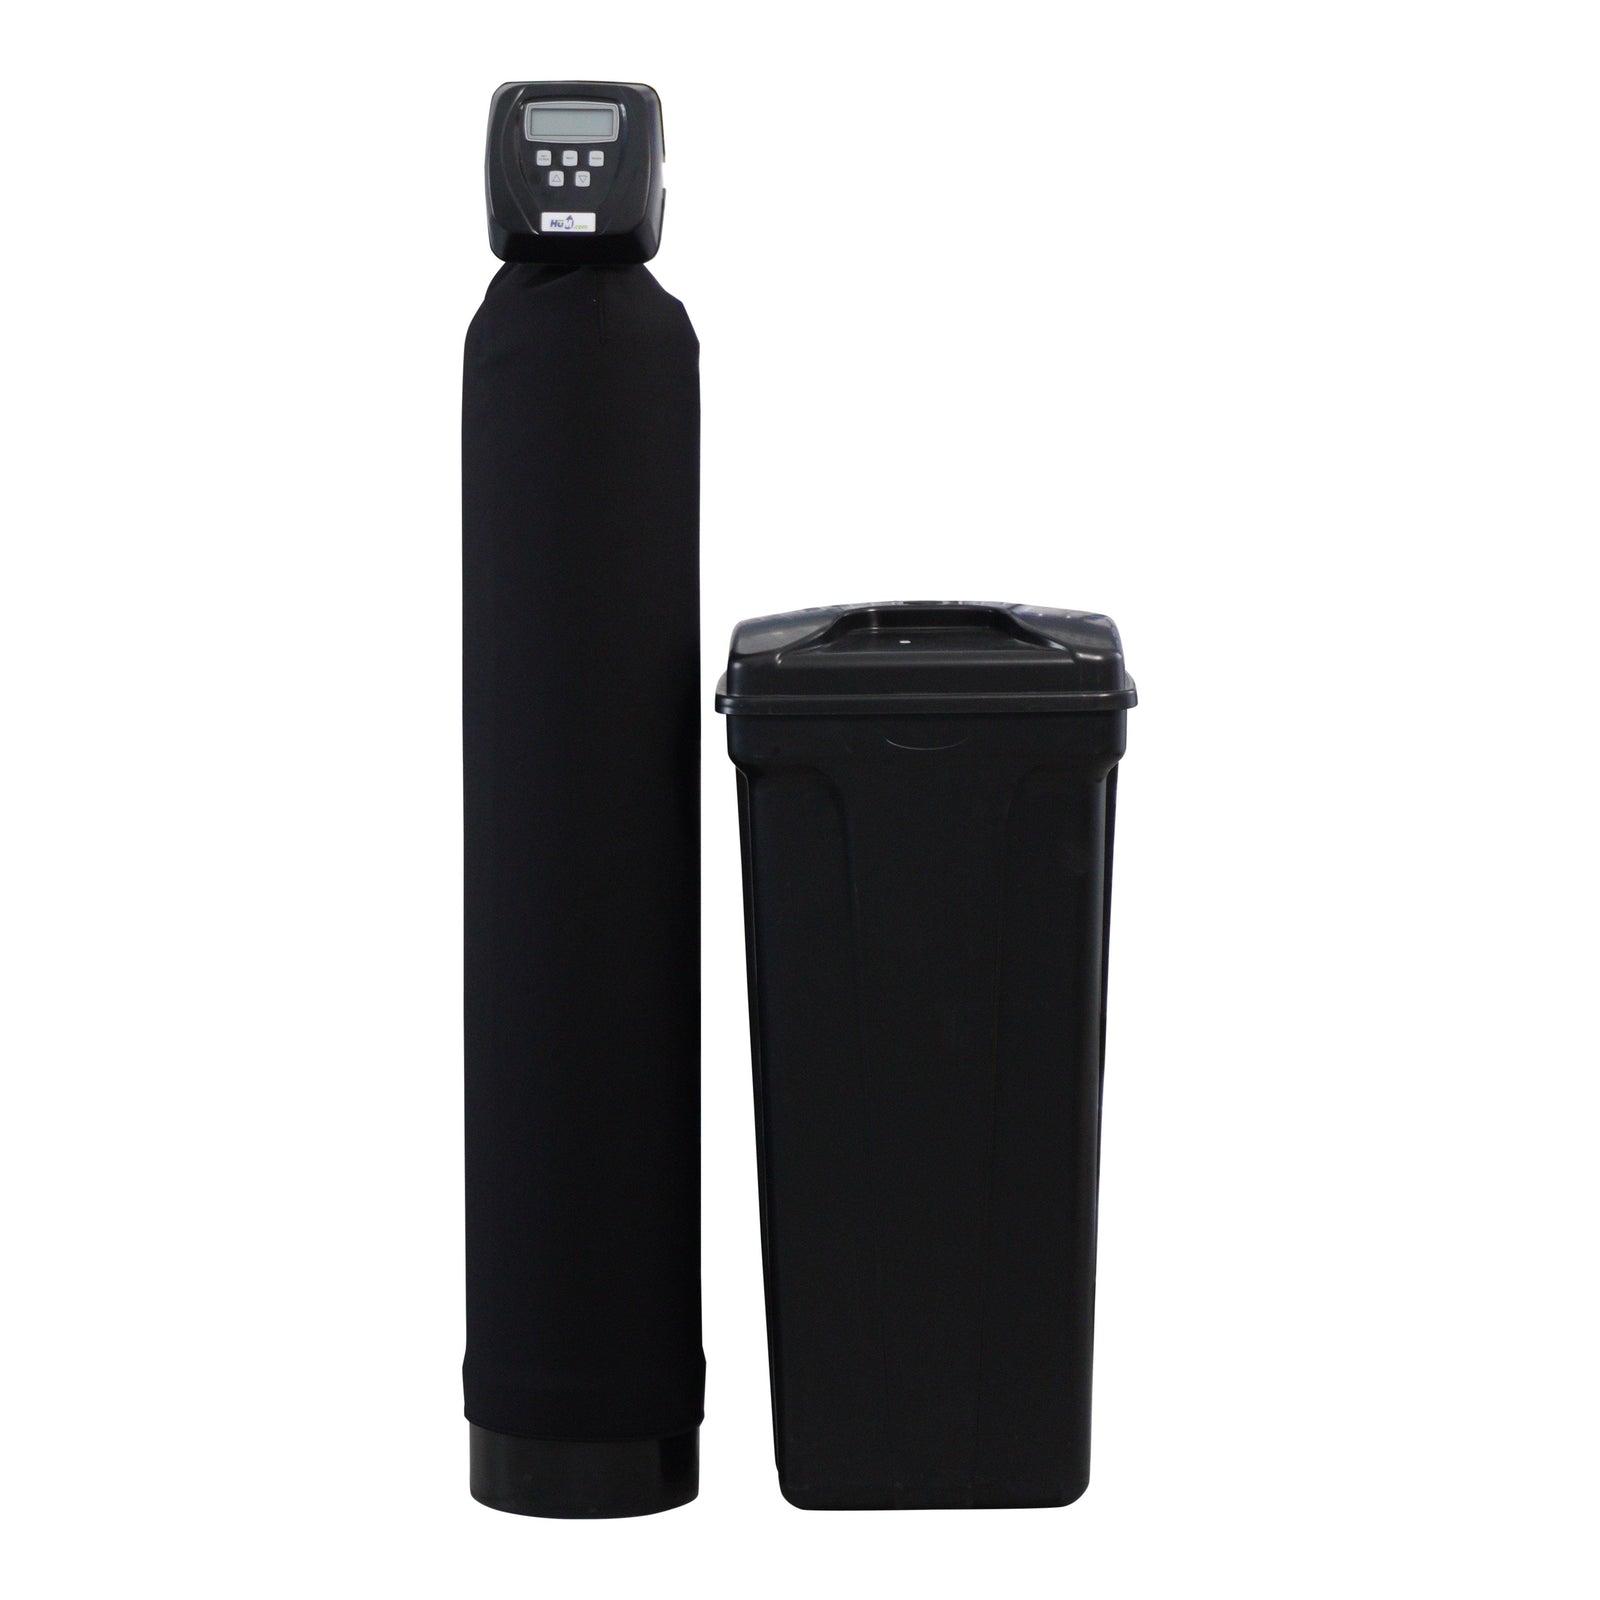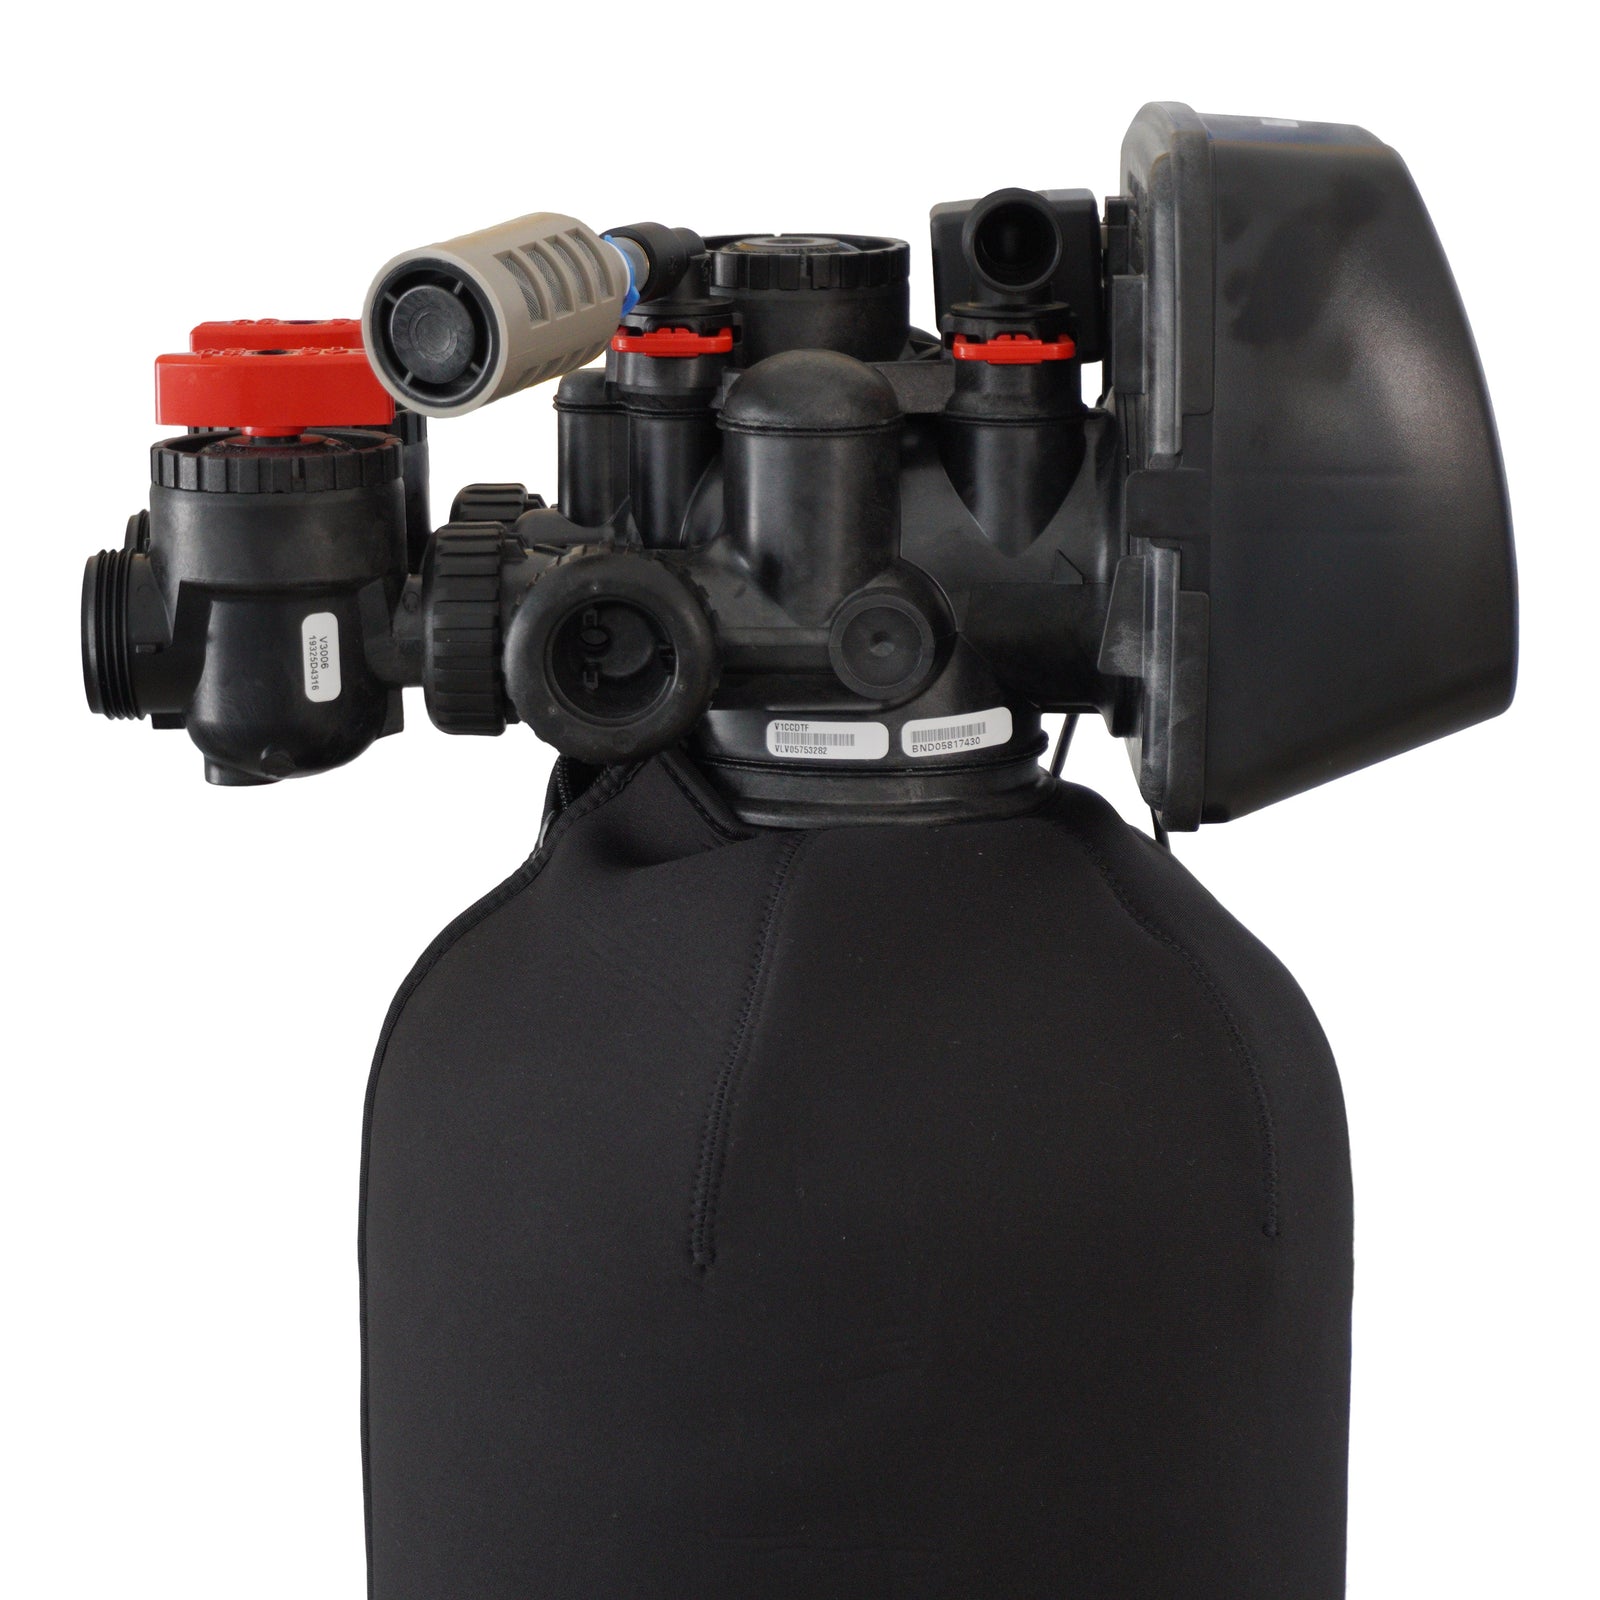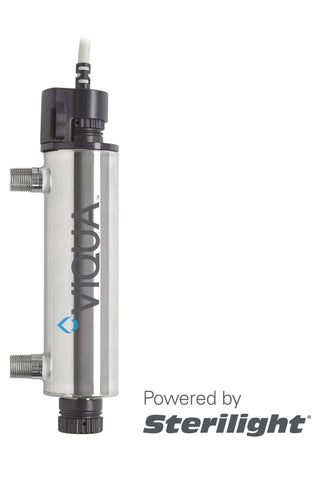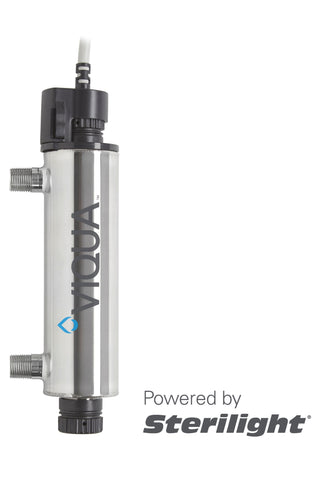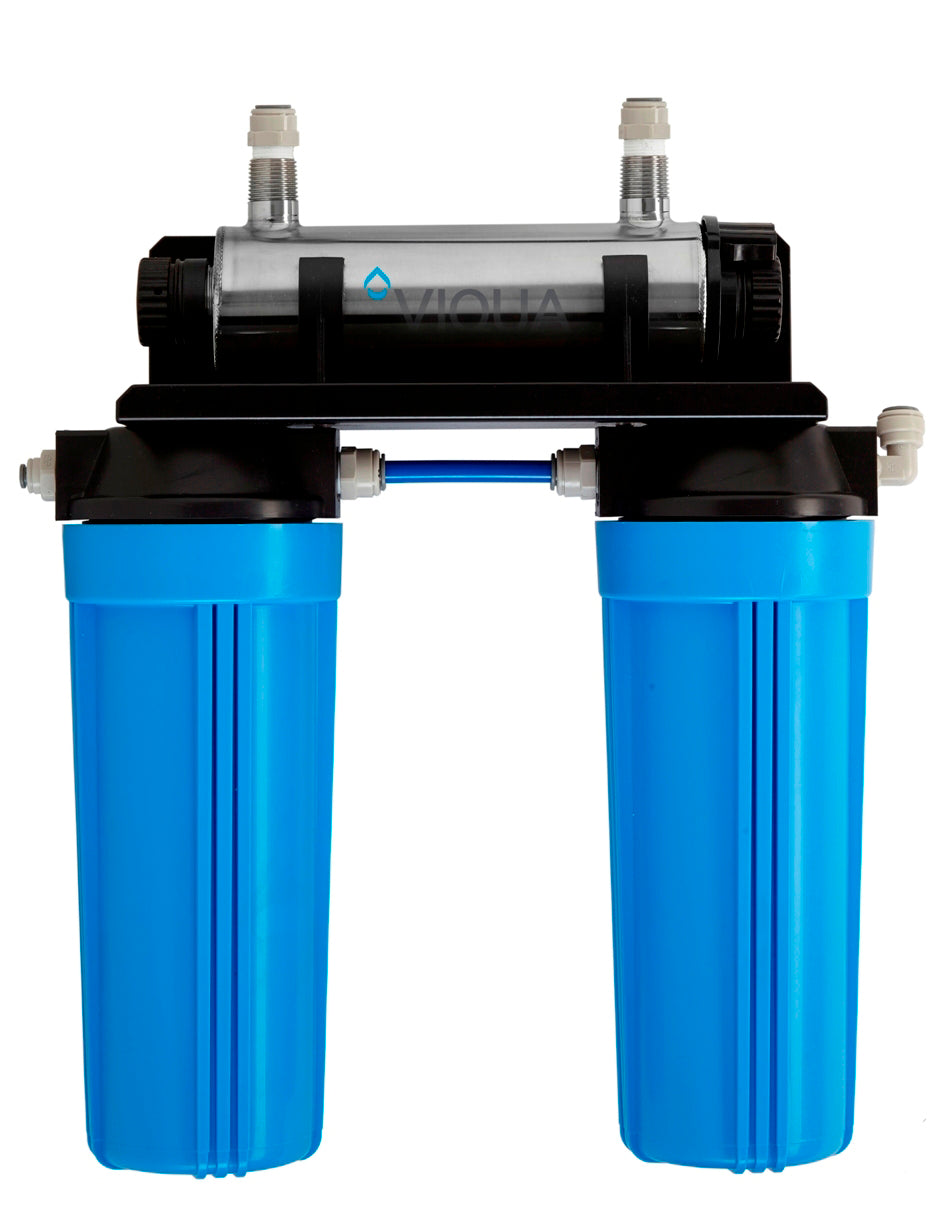
Check out this system on our website here VT1-DWS
I always suggest replacing the filters whenever the water flow slows down first or once a year, whichever happens first.
Replace Filters
1) Disconnect main power source and allow the unit to cool for 10 minutes.
2) Shut off the water supply, open an upstream faucet to release pressure, let water run until it slows to a trickle.
3) . Remove the sump housings using sump wrench.
4) Discard the used cartridge and clean the sump housings, Ensure the sump O ring is lubricated with silicone
based lubricant.
Replace UV Lamp and Clean Sleeve
1) Remove the lamp connector by squeezing the plastic locking tabs on the side of the connector.
2) Remove the lamp pulling it straight out from the chamber and lamp connector base. Always hold the lamp at the
ceramic ends.
3) Remove the bottom retaining nut, floating spring, and O ring
4) Remove the top retaining nut and O-ring.
5) Carefully, remove O-ring adhering to the quartz sleeve. Remove the quartz sleeve.
6) Clean the quartz sleeve with a cloth soaked in CLR, vinegar or some other mild acid and then rinse with water.
Note: If sleeve cannot be completely cleaned or it is scratched or cracked, then replace the sleeve
7) Reinstall the quartz sleeve in the UV chamber allowing the sleeve to protrude at equal distance on both ends of the
UV chamber.
8) Reinstall the top and bottom retaining nuts, floating spring, and O-rings respectively.
9) Insert the new lamp fully into the chamber leaving about two inches of the lamp protruding from the chamber.
10) Attach the connector to the UV lamp and note that the connector will only allow correct installation in one
position.
11) Push the lamp connector against lamp connector base together until an audible click is heard. Re-pressurize the system to check for leaks.
12) If there is a possibility that bacteria could have entered the system during service you can disinfect the system by following the advice of this video https://www.youtube.com/watch?v=mwZVlsqgBO8&t=2s

