If you're looking to install a water softener for your family, then you've come to the right place! Installing your own water softener is a great way for DIY homeowners and plumbing professionals alike to bring softer, better-quality water into their homes. In this post, we'll specifically be talking about installing Aquamaster and Clack brand water softeners — two of the leading manufacturers of quality residential models on the market today.
In the coming weeks, be sure to follow along with the next posts in this series as we cover everything from where to install these top-of-the-line systems in your home and supplies needed before starting, all the way through to tips for getting optimal performance out of them once they’re ready to roll. Let's get started!
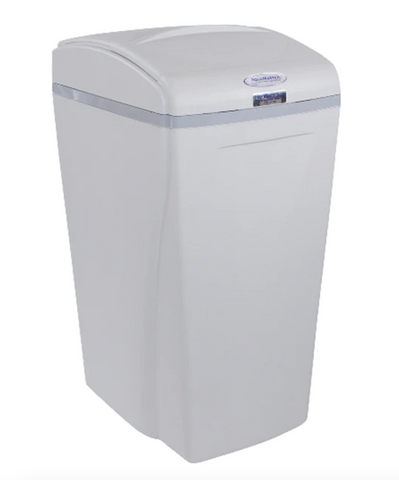
STEP 1: DETERMINE THE BEST INSTALL LOCATION
No matter which type of water softener you install, the first step is knowing where to install it. We need to keep in mind that the water softener will need to connect to your plumbing at a point where it softens all of the hot and cold water in your home. You will need access in the future to be able to add salt, and it will need to be connected to a drain and an electrical outlet. Also, if you are installing multiple pieces of water treatment equipment you need to plan the order of the water flow through the equipment.
STEP 2: FIND THE WATER SOURCE

Check out where the water comes into your home, usually located in a utility room and often near your hot water tank. If you're on a municipal water system there will usually be a pipe coming from the floor with a water meter on it. If you are using well water, you'll have a pressure tank in your home; look for the pipe that leaves that pressure tank and supplies water to your home. Follow that pipe and look for where it branches off toward your hot water heater and other lines. You’ll want to connect your water softener before it branches off so all water lines downstream will be softened.
PRO TIP: Make a note as to what size and type of plumbing you have as you may need to purchase some fittings to connect to the water softener.
You'll also want to consider the plumbing to your outside faucet and lawn irrigation systems. For lawn watering, it is usually best practice to use untreated (bypassed) water. If you want softened water for stain-free and much easier car or boat washing, it's best to have those water lines treated.
STEP 3: CHOOSE WHERE YOU WILL DRAIN THE WATER
Check where you'll connect to the drain. When a water softener regenerates it will flush anywhere from 14 to 60 gallons of water down the drain and wherever you connect needs to be able to handle that much water and not freeze in the winter.
A floor drain is usually the most convenient drainage location but there are many other options available. You can plumb it overhead into an ABS pipe or run it into a laundry sink, just be sure that you comply with local plumbing codes which usually require you to maintain an air gap. Make sure wherever you connect the drain, it is secure at both ends.
STEP 4: LOCATE THE NEAREST OUTLET
Lastly, you will need to be located near a standard household 110-volt electrical outlet. Both of these units have fairly long cords (around 15-20 feet), so ensure your outlet is within that range of your unit.
PRO TIP: Make sure the outlet you use is not powered by an electrical switch (aka. a light switch) as this will cause an issue with functionality if accidentally turned off!
And that’s it! If you liked some of the information you saw here today please click on the subscribe button in the YouTube video below to see more posts in this blog and video series.


