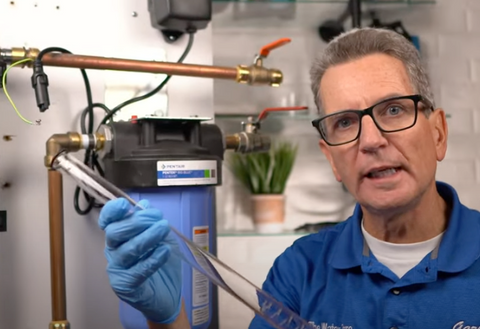
Hi, I’m Gary the Water Guy. I’m passionate about simplifying water filtration to help families like yours conquer crappy water. In this post, we’re going to walk through maintaining your Luminor Blackcomb UV water treatment system, step-by-step.
Whether you have an LB4, LB5, LB6 or a higher flow rate model like the LBH5, the maintenance procedure is the same. Luminor makes systems for Culligan, Water Depot, Nelson and more. So if yours looks like a Luminor, follow along with this guide for some great results.
By the end of this blog, you’ll know exactly when and how to change the pre-filter, UV lamp and quartz sleeve on your UV system. I’ll also share pro tips and an important warning you won’t want to miss. Let’s get started!
Preparation for Maintenance:
-
Always disconnect the power before performing any work on the UV system.

- Always shut off water flow and release water pressure before servicing.
- Learn how UV Systems work. If you’re not sure how these systems operate, I have a great YouTube video that explains the whole process in easy-to-understand language. >> Check it out here before you begin!
- Looking for more information on the Luminor Blackcomb UV system? >> View the Luminor Blackcomb Manual here.
Getting Started: Before You Begin
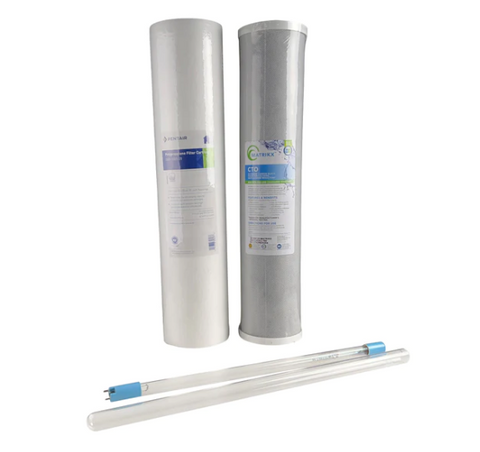
To complete your Luminor Blackcomb UV system maintenance, you’ll need to have the proper replacement lamp, sleeve and filters on hand. You'll also need the following:
- CLR or other descaler
- Bucket with soapy water
- Phillips screwdriver
- Clean cloths
- Latex or soft cloth gloves
- Silicone grease
- Wrench for filter housing
- Lamp, spare sleeve and replacement 5-micron filter
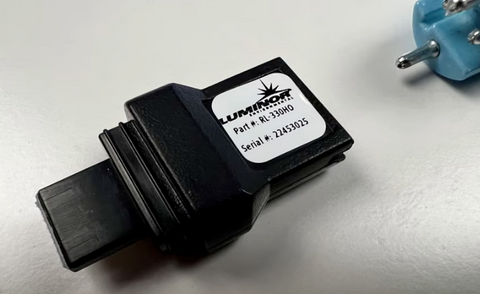
HOT TIP: Not sure which replacement UV lamp and sleeve you need? Check the label on the chamber itself!
WARNING! If you have a Culligan, Water Depot, Nelson or other branded system, you can only get the replacement lamp that will work in your system from them. So be sure you get the same model number listed on the label.
BUY UV REPLACEMENT LAMPS, SLEEVES & FILTERS
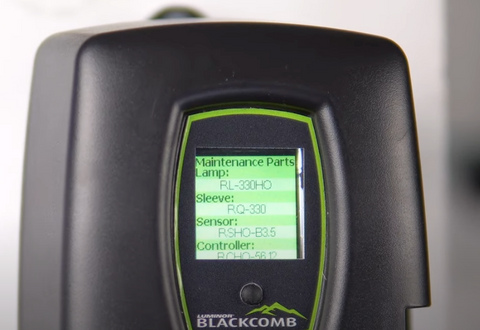
If your UV system says Blackcomb like this one then you are in luck because your lamp is non-proprietary and you can get the replacement from several sources — including us. We have them on our website and offer free shipping and discount pricing.
>> Shop Replacement UV Lamps

>> Shop Replacement UV Sleeves
>> Shop Replacement Sediment Filters
Replacing the UV Lamp and Cleaning the Sleeve: A How-to Guide
-
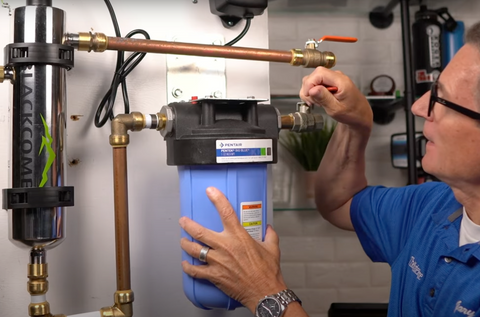
Close all faucets and shut off the water supply. Press the pressure button to release the pressure from the cartridge(s). Close valve downstream of UV.
- Disconnect the main power source and allow the UV to power down for 10 minutes to cool.
- To remove water and filters from their housing, just unscrew the housing, lefty loosey, righty tighty. Remove and replace the filter and their housings.
-
Remove the captive ground screw from the ground lug on the UV stainless steel reactor.
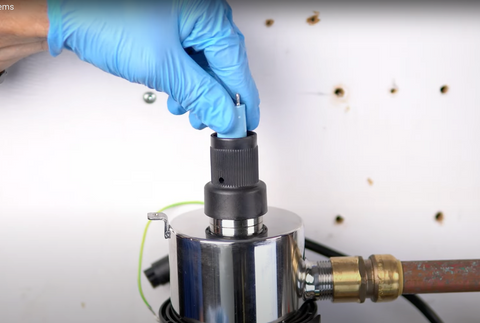
- Remove the lamp connector from the reactor at the gland nut by pushing the LUMI-loc connector in and turning it ¼ turn counter-clockwise. Disconnect the lamp connector from the lamp. Be careful: the lamp may be hot!
-
Being careful to touch only the ceramic ends, remove the lamp from the stainless steel reactor.
- Unscrew the gland nut from the reactor exposing the end of the quartz sleeve.
- Remove the quartz sleeve and o-ring by gently twisting and pulling the quartz sleeve out.
- Using a soft, lint-free cloth or towel wipe the sleeve down using a commercial scale cleaner (i.e. CLR® or LIME-A-WAY®). Be careful not to get any moisture or liquids inside of the sleeve.
-
Dry the sleeve with a separate clean cloth. If you can’t get it perfectly clean, you’ll need to replace the sleeve.
- Replace the o-ring coated with plumbers' clear silicone grease and slide the sleeve back into the reactor. Hand-tighten the
 gland nut over the quartz sleeve onto the threaded end of the stainless steel reactor. It has a positive stop to prevent over-tightening. A firm force may be required to fully tighten the gland nut, but DO NOT USE TOOLS for this step. Insert the stainless steel spring into the quartz sleeve. The spring works with the lamp and LUMI-Loc™ connector to create the proper lamp alignment.
- Always handle UV lamps by their ceramic ends, not by the lamp quartz. Remove the lamp from its packaging. Again, the use of cotton or latex gloves is highly recommended. Remove the lamp key (if you have a 5 or 6 series) from the lamp’s connector and set it aside for the next step. Be careful to not touch the key’s exposed contacts. Insert the UV lamp into the reactor, being careful not to drop it.
-
Install the lamp key into the controller (BLACKCOMB 5.1 and BLACKCOMB 6.1 systems only). The key always comes packaged with the lamp and sits on the
 connector. With the key removed from the lamp, orient it so the label is upright and facing you. The key will plug into the lamp key port on the right side of the controller.
- Plug the LUMI-Loc™ lamp connector into the lamp. Note the keying for proper alignment. Insert the lamp connector into the gland nut and turn the connector approximately ¼ turn to lock the connector to the gland nut as in Figure 9.
- Tighten the captive ground screw to the ground lug on the UV reactor to ensure proper grounding.
-
Plug the lamp in a GFCI-protected outlet. Pro Tip: Plug the system into a surge suppressor to protect the ballast - it's super cheap insurance to protect that lamp and the ballast!
- Turn on the water supply and vent while filling, making sure to check for leaks.
There you have it! Hopefully, this comprehensive guide has equipped you with the knowledge and confidence to effectively maintain your Luminor UV system. Armed with the understanding of when and how to change the pre-filter, UV lamp, and quartz sleeve, you can ensure optimal performance and longevity. Don't forget to take note of the pro tips and heed the important warning provided!


